On May 11, 2020, I was a novice woodworker. I really had just started 9 or so months earlier. I bought chisels and planes, made a (rudimentary) shooting board… but before I dove into dovetails, I decided to start small, and I’d tried making my first box just a couple of weeks earlier, a simple small box with mitered corners. It was going to be a Mother’s Day gift. Of course it was already the Saturday 1 day before Mother’s Day that I even got underway, and was rushing and frustrated with myself.
I quickly learned that my homemade benchhook/miter box was nowhere near 45 degrees, so I went over to the table saw and improvised a very crude miter crosscut sled. I did the cuts, dry assembled the box (its measured approx 4″ x 7″ x 4″) and it wasn’t a good fit. I then learned that a stationary belt sander is really poor way
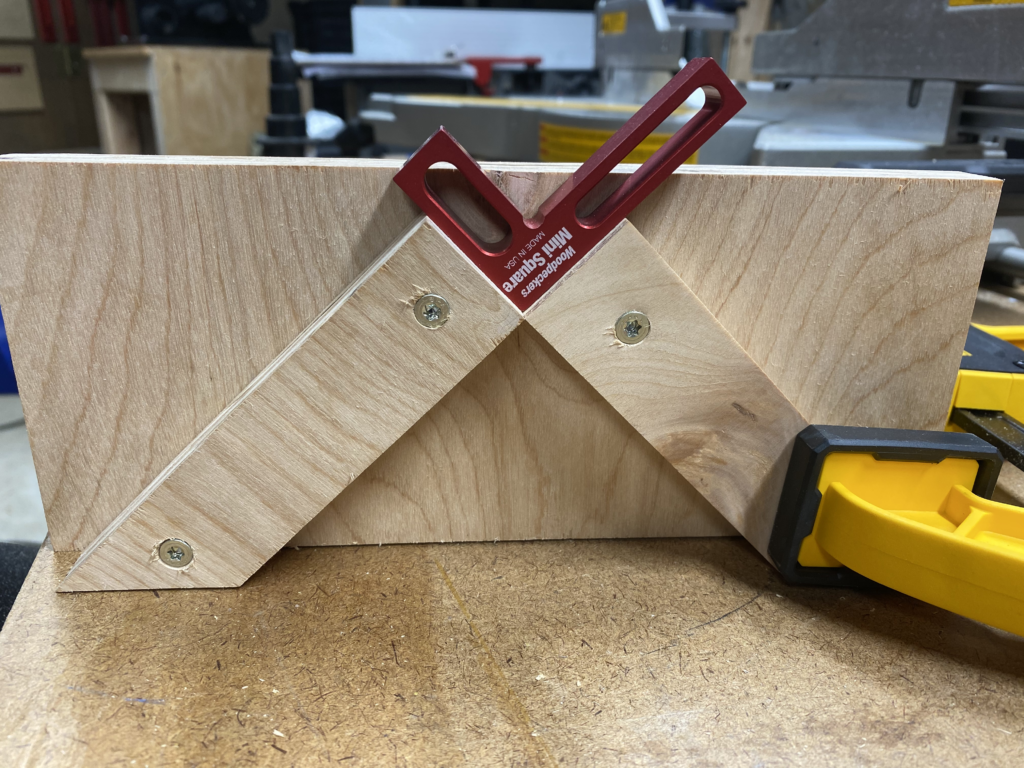
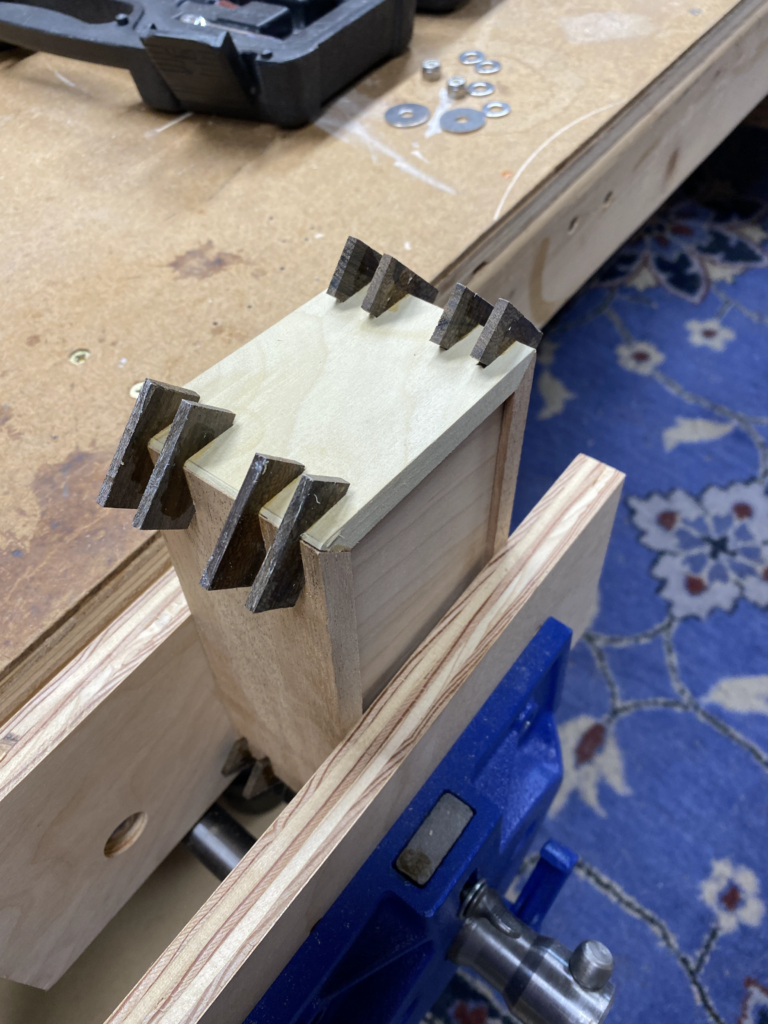
to try and tweak the miters. After ruining that first set of wood, I started over again on Sunday (Mother’s Day) from scratch and got a somewhat better result (although still nothing is quite 90 degrees on the thing). I even added some decorative miter keys after making a simple jig.
The Miter Key Jig
Miter Keys in the Box
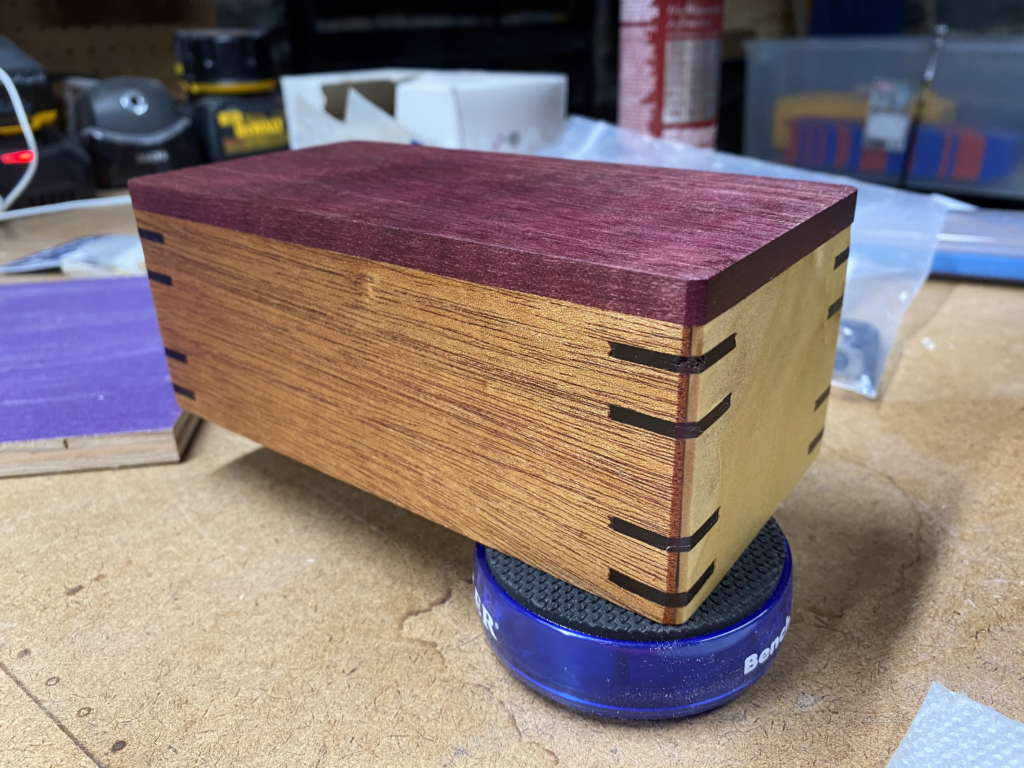
When I put the lid piece through my thicknesser, I noticed that it left a few streaks in the wood, where apparently the blades were dull. (I bought my thicknesser and jointer secondhand). I had to do some extra sanding to remove those. But no matter… I glued the lid on, sanded everything to 320 grit, applied Danish oil, and let dry overnight. I was pleased.
The box, before cutting off the lid
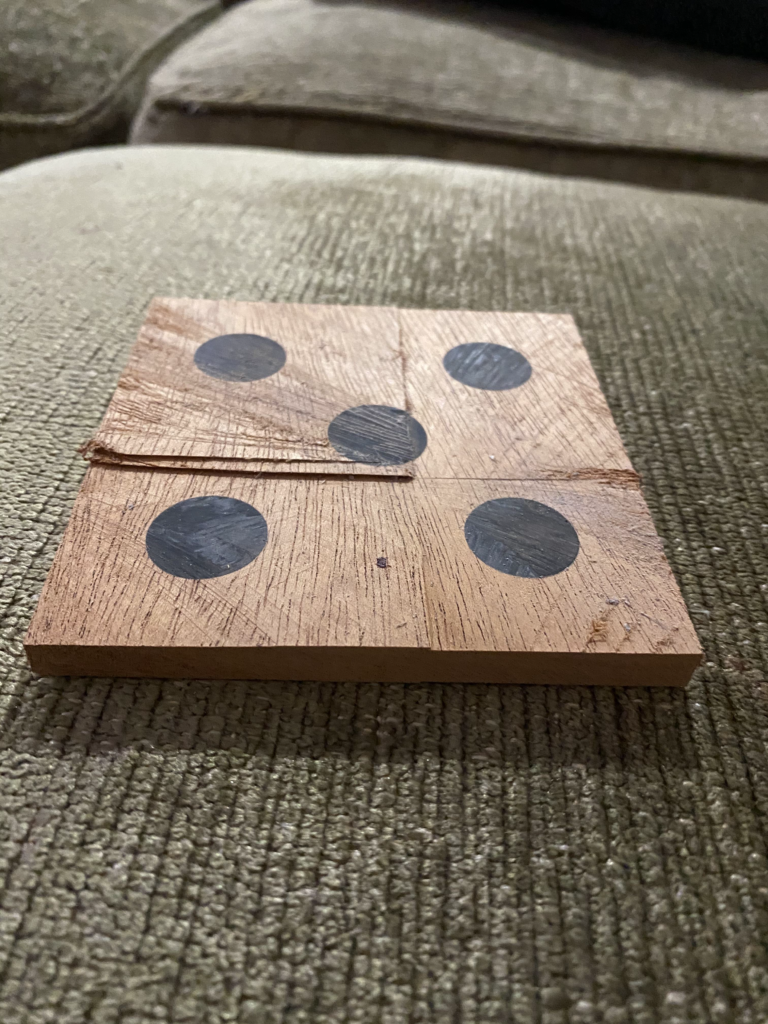
In the meanwhile I was experimenting on another project making coasters… mundane enough. My idea was to make them look like dice faces. I took a maple board and cut it into four smaller boards a bit over 4″ wide, taped them together, and took the block to the drill press and drilled 5 holes through it with a 3/4″ forstner bit. (It turns out that this technique didn’t work well anyway). I mixed up some epoxy resin and added black mica powder and poured it in, and let that cure overnight too.
Wood and Resin Coaster Experiment
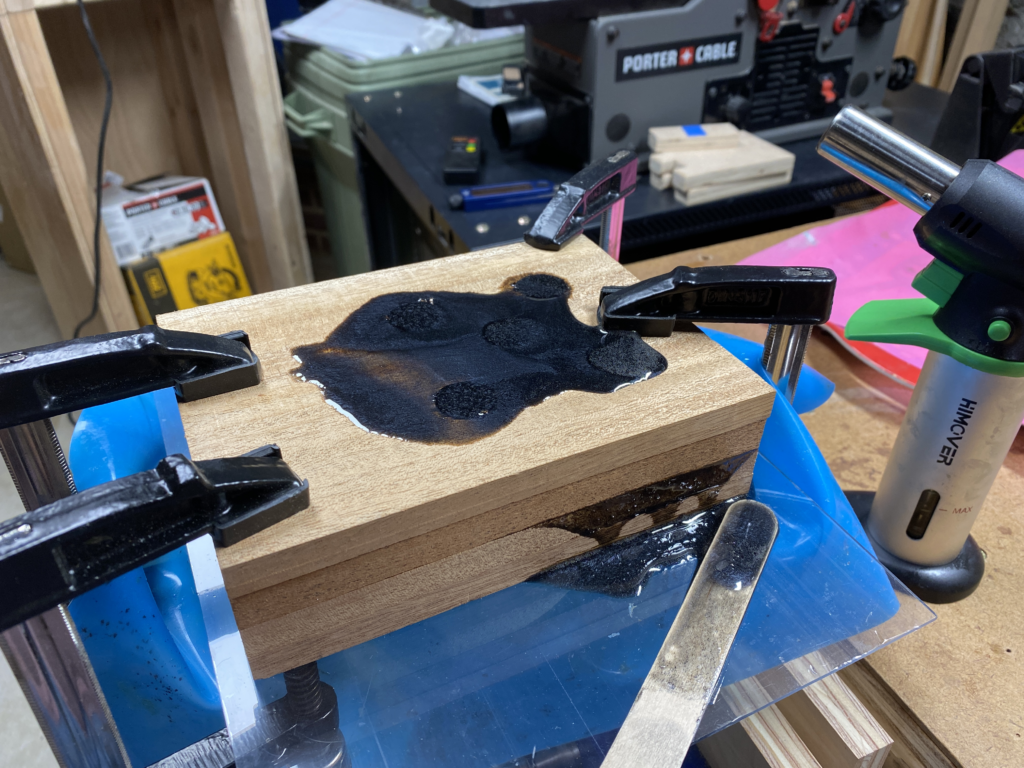
So Monday night, I took that block of wood over to my bandsaw to cut them apart and discovered that the bandsaw, the smallest Wen-brand benchtop bandsaw, only has a throat capacity about 3.75″. Annoyed, I then took the block to my table saw (which of course has thicker kerf than the bandsaw) and raised the blade all the way, but even that would only cut to about 1.75″. So I cut what I could and then used a pull saw to finish separating the pieces. Back to the box… My plan was to cut the top off the box off with the bandsaw, but the box was about 3 7/8″ tall, JUST a hair too tall for the bandsaw. Grrr… back to the table saw to cut the lid
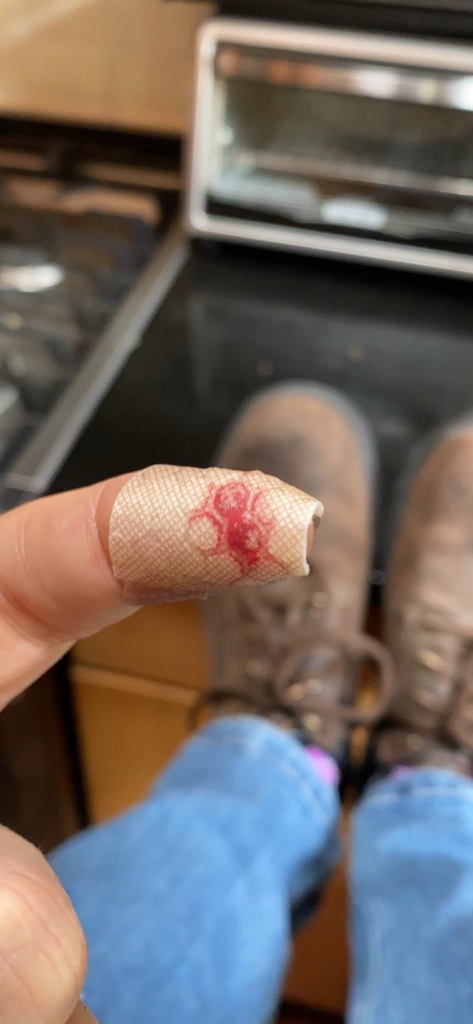
off. Then I tried using my chisels to mortise out for the hinges. I totally messed it up, and even had the chisel slip and nicked my finger with it. Yep, its sharp!
Its Sharp
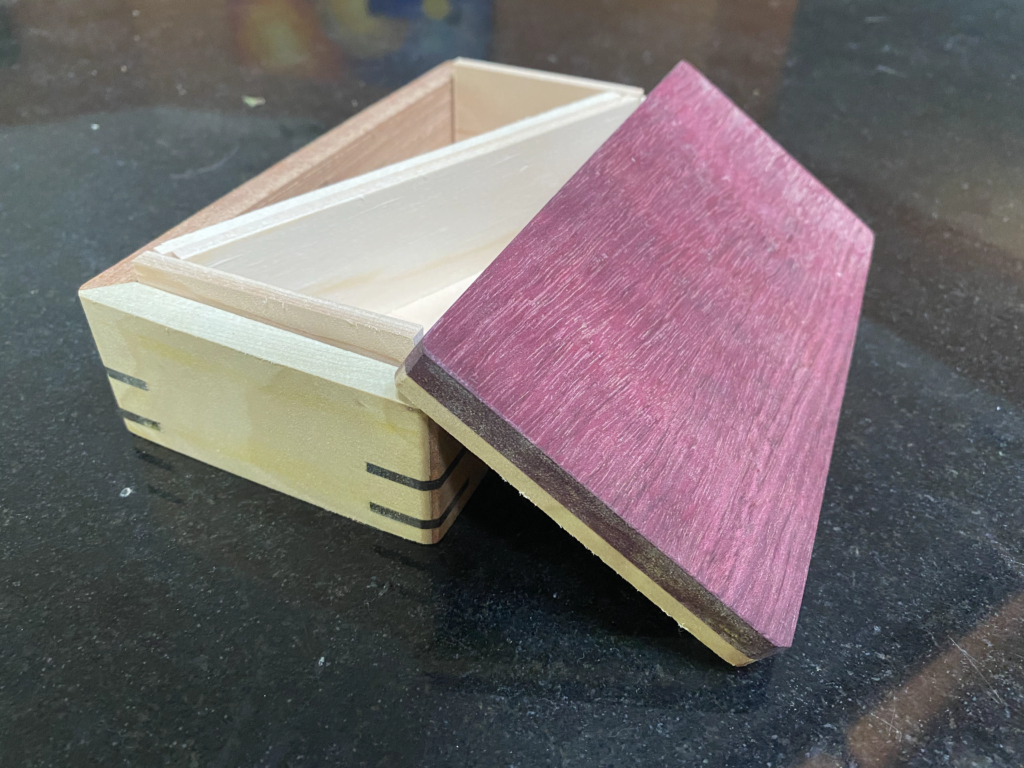
So back to the table saw. I cut a little more off the top to remove my terrible mortises, but then the lid wouldn’t fit snug. I tried using my brand new block planer for the first time to true it up. Nope, that just made it worse. Then I tried again using the belt sander to tweak it, and that made the fit even worse, and eventually had to cut off enough of the top to resquare everything that I lost the upper two miter keys. I gave up on the hinges entirely and figured i’d put thin cedar inner lining that the lid would fit over. Assuming I could miter those… so I rough cut the cedar strips and set the box aside. It was getting late and I was frustrated.
The Abridged Box
I wanted to see what the dice coasters would look like with the surfaces prepped but didn’t trust my thicknesser at this point. I already had ordered new blades for it on Amazon, but of course was impatient to make progress.
So I took the pieces over to the jointer and used it as a planer.
I ran the faces of the coasters over the jointer blade. Just pushed them along with my hand. Finished two of them relatively nicely. On the third one, the blade of the cutter caught in the wood and shot it out of my hand.
Really annoyed, I retrieved it… and… put… it… back… on… the… jointer… again….
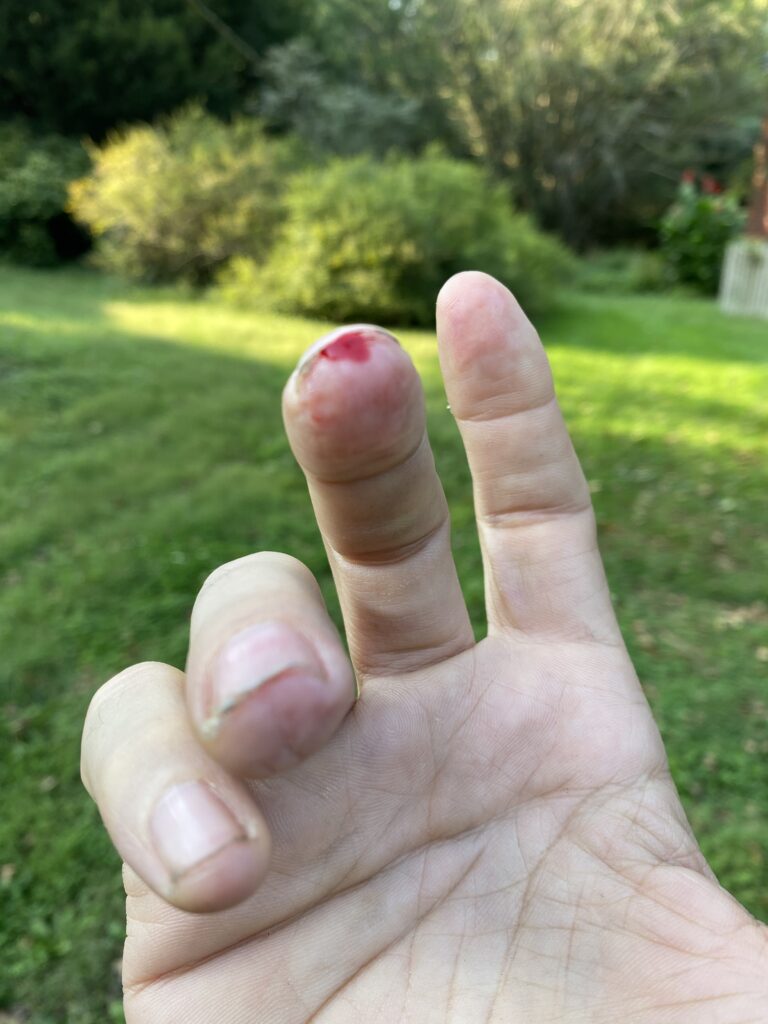
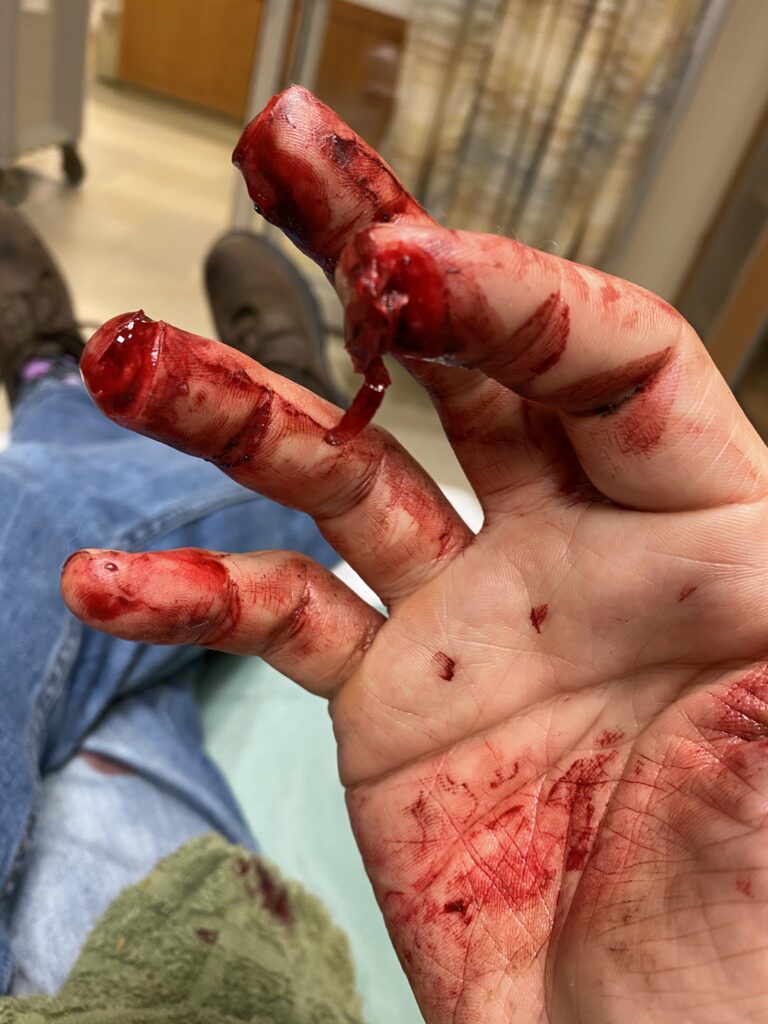
Hand
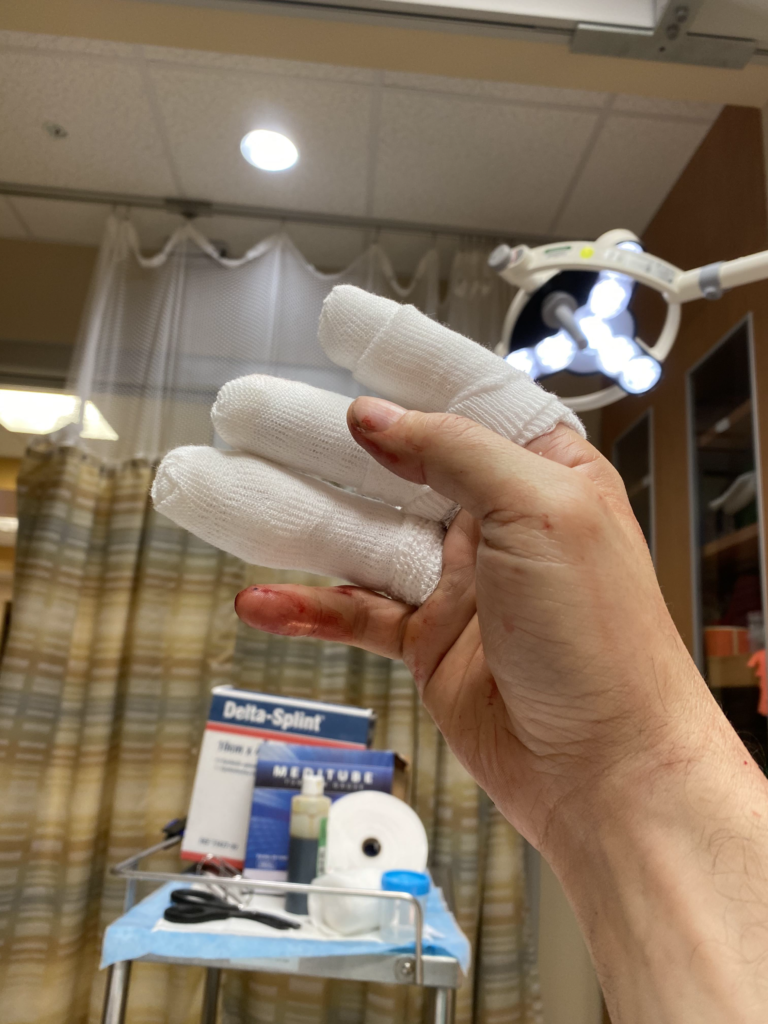
Four hours later, I’m back from the ER. I didn’t even dare look at what I’d done to myself. I’m squeamish.
They had to cauterize the tips to stop the bleeding. I could see the smoke curling up from my fingers, smell it… ugh I’m so stupid.
I saw a hand surgeon the next morning and had surgery the day after. I was in more pain than I’ve ever felt in my life. I lost about 1/2″ off the ends of my index, middle, and ring fingers on my right hand. And they had to graft a slice of skin taken from the side of my palm onto my index finger.
Just making a list of the bad decisions, in no particular order:
- Using the tool improperly
- Not respecting the power of the tool
- Pushing the wood with my bare hand
- Not using a push block
- Rushing
- Working after already cutting my hand (nicking myself with the chisel) – a woodworker friend
admonished me “if you hurt your hand in any way, you’re done for the day” - Working while tired / frustrated (my gf told me “HALT: Hungry, Angry, Lonely, or Tired”)
- Repeating all of the above even AFTER getting a warning (the first time the wood flew out of my hand)
It took me two weeks to be able to go back down to my shop in the basement since the accident, or even watch a woodworking video or read one of my books. My gf went down though just to, well, clean up, maybe locate my fingertips. They are either in the machine still or in the dust collector. She brought up the work pieces I was working on. You can clearly see here where the blade caught the face of the wood:
The Piece from the Accident
Every woodworking book I’ve read or YouTuber I’ve followed has warned about safety. I clearly didn’t take it to heart. Who wants to use pushblocks anyway?
Now I’ll take the warnings to heart. I hope!
One last thought, I was impressed by my son (13 at the time) staying calm, calling my ex wife for help, getting me a towel etc. and generally remaining very level headed through the ordeal. Thank goodness I had the help!
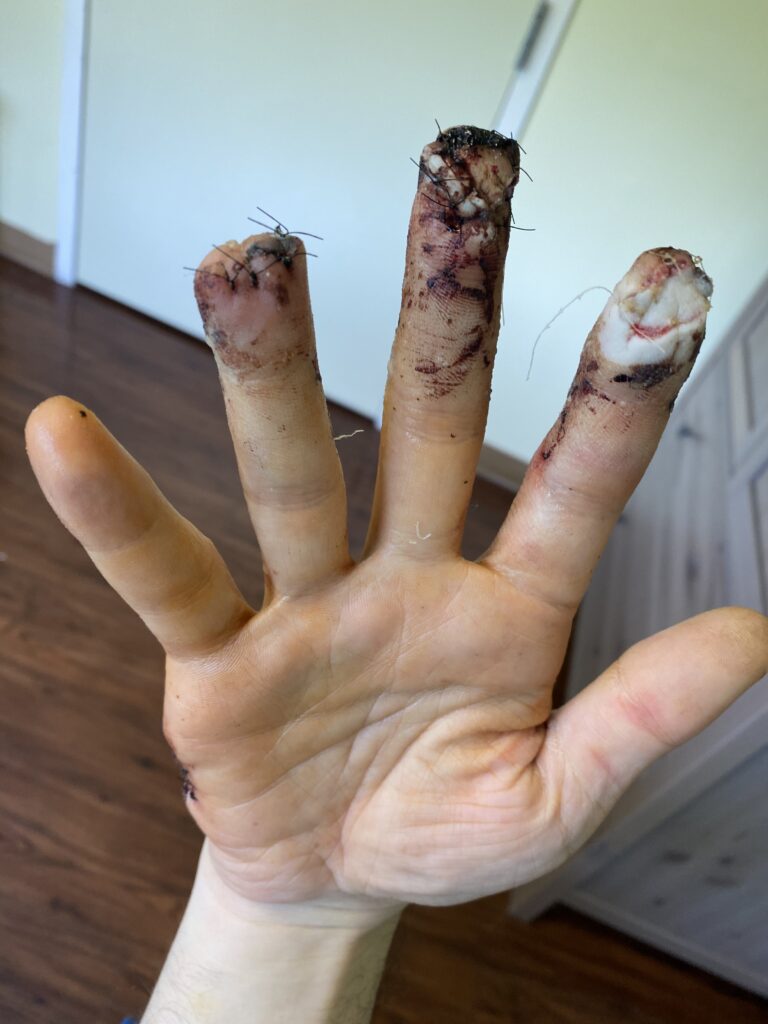
Here are a couple of pictures of the ugliness as I healed:
Day after surgery:
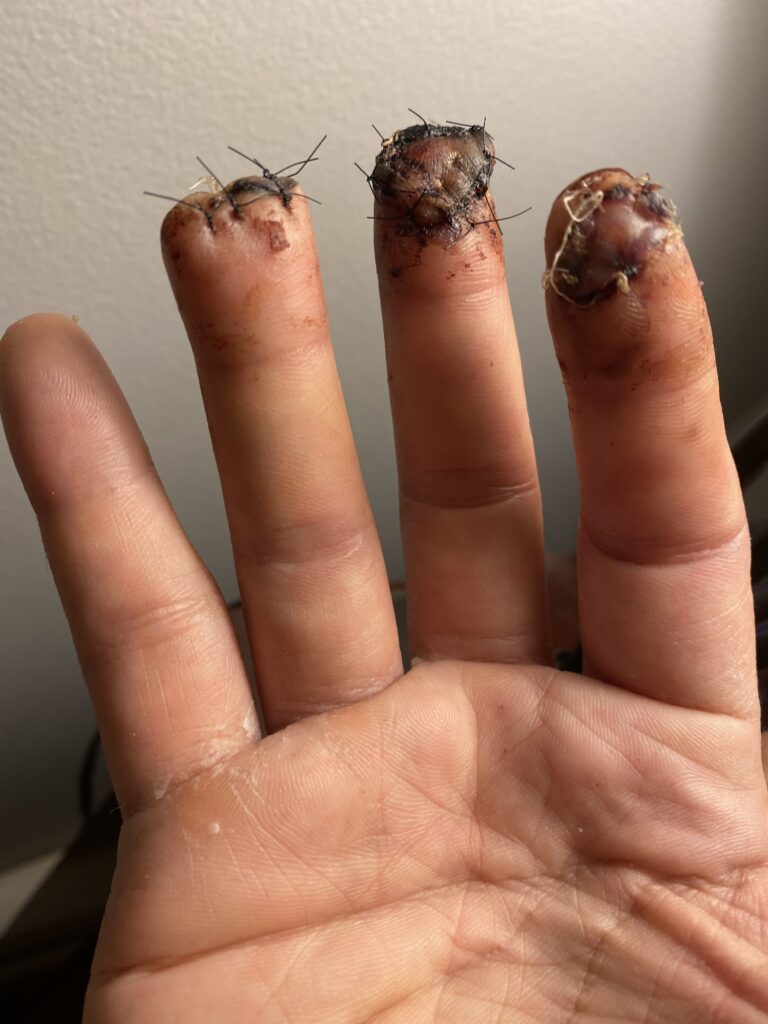
1 week after surgery:
3 months later…